
Bills
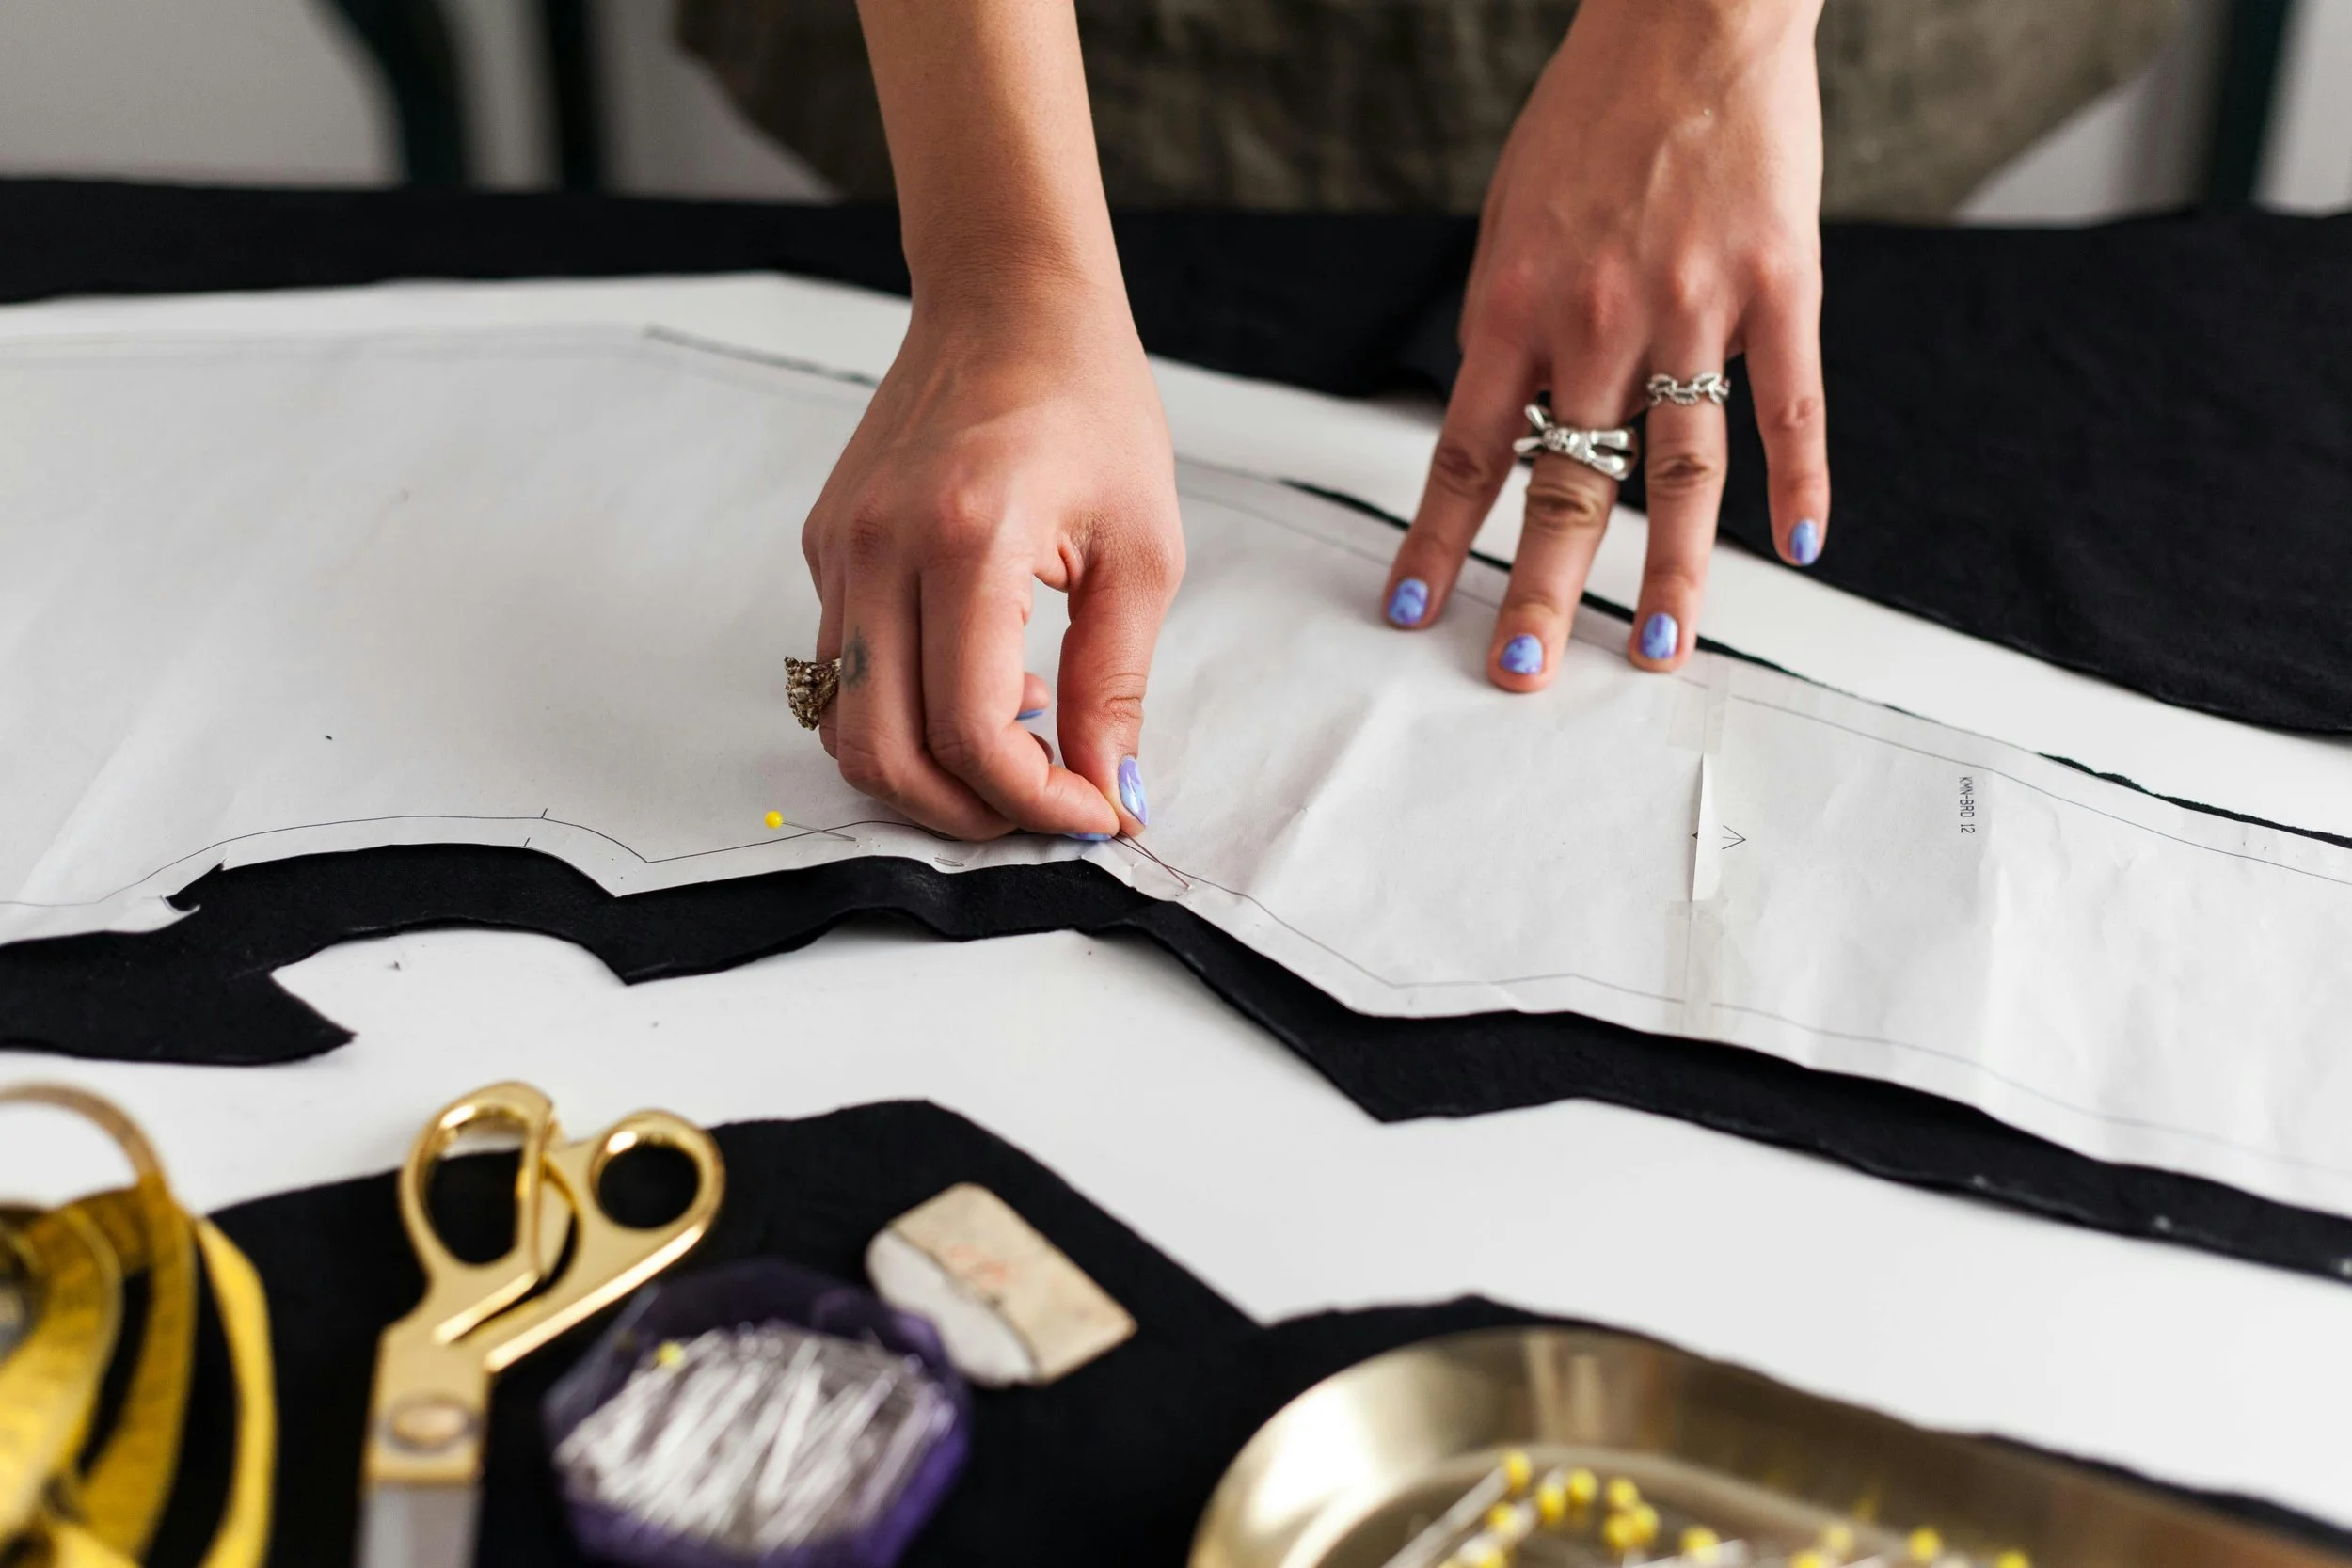
Going paperless isn’t about fancy tech, it’s about creating a system that actually works for you. When you funnel every bill and invoice into one simple, digital process, you stop wasting hours chasing paper, digging through inboxes, or trying to remember if something was paid.
This module walks you through how to capture, store, and manage every document right where it belongs — beside the matching transaction in Xero. It’s all about keeping things simple, consistent, and totally stress-free.


-
When new bills or receipts arrive.
Capture them immediately, email, photo, or upload them before they disappear into the abyss of your emails -
When you’re entering invoices into Xero. Add or upload the document straight away. Don’t wait. Attach as you go.
-
When reconciling bank transactions.
Make sure the attached document matches the payment, so everything lines up cleanly. -
When reviewing your bills or preparing GST returns. Having every document attached saves you (and your accountant) hours of digging.
-
When onboarding staff or suppliers.
This is the time to set clear paperless rules, how to send bills, where they go, and how to keep consistency across the team.
HOW DO YOU USE THIS?
-
Where are bills coming from? Email, physical post, supplier portals, in-person handovers?
Set a rule: all bills funnel to one place (e.g., a dedicated accounts email or directly to Hubdoc).
-
In Hubdoc: set up your unique email address and start forwarding bills there.
For suppliers you trust, ask them to email invoices directly to that address.
Turn on Auto-Publish to Draft for recurring, low-risk suppliers (e.g., utilities).
-
Hubdoc → Xero Drafts: bills land, data is extracted, you review.
Manual Uploads: for one-off or complex bills, drag-and-drop into Xero Files and create a draft.
Manual Entry: only when needed (e.g., handwritten invoices, rare cases).
-
Make it a non-negotiable: every bill must have its receipt or invoice attached.
Hubdoc does this automatically; Xero Files makes it drag-and-drop easy.
-
Tell your team: no paper floating around, everything gets scanned or emailed in.
Set a weekly review routine: one time block to review, code, and approve drafts.
Store physical copies only if legally required (and even then, just file them for archiving).
-
Don’t build a monster system, start with one inbox (Hubdoc/Xero Files), one routine, and add automation gradually.
The goal isn’t zero effort it’s low effort, high accuracy.
WHEN WILL YOU USE IT?
IT ALL BEGINS WITH AN IDEA
✦
IT ALL BEGINS WITH AN IDEA ✦


Log in to Xero → Head to Business > Bills to Pay.
Click "New Bill".
Enter the supplier details (who sent the bill).
Fill in the basics: invoice number, date, due date, amount.
Attach the file (drag-and-drop, upload from Xero Files, or link from Hubdoc).
Choose your account code (from your chart of accounts) and add a description if needed.
Instead of hitting “Approve,” select “Save as Draft.”
This keeps the bill in the Draft section, visible, editable, but not yet counted in your reports or your cashflow as an official liability.
MANUALLY ENTERING A DRAFT BILL
Upload file to Xero Files (drag-drop or email).
Open the file in Inbox and select Create Bill from File.
Select the supplier/contact.
Fill in header details: invoice number, dates, currency.
Choose your account code (from your chart of accounts) and add a description if needed.
Instead of hitting “Approve,” select “Save as Draft.”
Optional Tips: Ensure supplier names are consistent and look out for any pre-filled OCR data.
UPLOADING BILLS FROM XERO FILES
Email rules: auto-forward invoices from accounts@yourdomain to your Xero Files email.
Supplier defaults: set once, save forever (contact > Edit).
Batching: upload a stack to Files, convert each to a draft in one sitting.
TIMESAVERS
COMMON PITFALLS
(and what to do instead)
Card receipts already paid? Use Spend Money on the bank account, attach the receipt—don’t create a bill.
Supplier statements: not a bill. File them against the contact or keep in Files; don’t convert to a bill.
Credit notes: create a Bill Credit Note, don’t fake a negative bill.
One PDF with multiple bills: split the file first so each bill has its own attachment.